Introduction

Image: www.donsmaytag.com
In the realm of household chores, cleaning a dryer might not top the list of most exciting tasks. However, a clean and well-maintained dryer is essential for keeping your clothes fresh and dry, preventing potential fire hazards, and ensuring the appliance’s longevity. If you own a Maytag dryer, this comprehensive guide will provide you with all the steps and insights you need to effectively clean it, restoring its optimal performance.
Understanding the Importance of Dryer Cleaning
A dryer accumulates lint, dust, and other debris over time, which can obstruct airflow and affect drying efficiency. This buildup can lead to longer drying cycles, increased energy consumption, and even pose a fire risk if not addressed promptly. Regular cleaning, therefore, is paramount for maintaining the proper functioning of your Maytag dryer and ensuring it operates safely and efficiently.
Step-by-Step Cleaning Instructions
Materials you’ll need:
- Lint brush or vacuum cleaner
- Mild dish soap
- Warm water
- Sponge or soft cloth
- Screwdriver (optional)
Step 1: Unplug the dryer
Safety first! Unplug the dryer from the power outlet before starting any cleaning tasks.
Step 2: Remove the lint filter and clean it
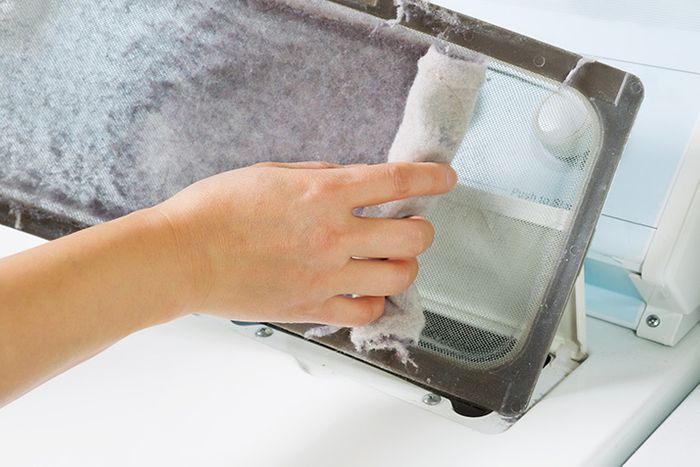
Locate the lint filter on the dryer’s door or bottom panel and remove it. Use a lint brush or vacuum cleaner to remove any visible lint and debris.
Step 3: Clean the lint screen housing
Use a damp cloth to wipe down the lint screen housing, removing any lint or dust buildup. Ensure the housing is completely dry before replacing the filter.
Step 4: Clean the exterior of the dryer
Use a damp sponge or cloth with a mild dish soap solution to clean the exterior of the dryer, including the front panel, sides, and top. Avoid using abrasive cleaners as they can damage the finish.
Step 5: Clean the exhaust vent
The exhaust vent is a crucial part of the dryer’s airflow system. Using a vacuum cleaner with a long attachment, remove any lint or debris obstructing the vent. If the vent is particularly clogged, you may need to use a brush or auger to clear the blockage.
Step 6: Remove and clean the drum baffles (optional)
Some Maytag dryer models have drum baffles that can collect lint and debris. Remove the baffles if possible (refer to your dryer’s user manual for specific instructions) and use a damp cloth to wipe them clean. Allow the baffles to dry completely before reinstalling them.
Step 7: Reassemble and check for proper airflow
Reattach the lint screen and drum baffles (if applicable). Plug the dryer back into the power outlet and start a test cycle with no clothes inside. Observe the airflow through the vent to ensure there are no obstructions.
Expert Insights and Actionable Tips
-
Clean the lint filter after every drying cycle. This simple step helps prevent lint buildup and maintains optimal airflow.
-
Schedule a professional cleaning once a year. A thorough professional cleaning can remove any hidden lint and debris from the dryer’s internal components, extending its lifespan.
-
Inspect the exhaust vent regularly. Blockages in the exhaust vent can restrict airflow and reduce drying efficiency.
Conclusion
Maintaining a clean Maytag dryer is essential for efficient drying performance, safety, and longevity. By following the comprehensive steps outlined in this guide, you can effectively clean your dryer and enjoy fresh, dry clothes every time. Remember to incorporate regular cleaning habits into your laundry routine to ensure the optimal functioning of your dryer for years to come. If you have any concerns or need assistance, don’t hesitate to consult the user manual or reach out to a qualified appliance technician.

Image: www.anyandallauctions.com
How To Clean Maytag Dryer